Changing Objects on Reservations
In this video tutorial we look at changing objects on reservations

Requirements
This video looks at:
- Changing objects in reservations
- Changing objects in cluster view
Key steps:
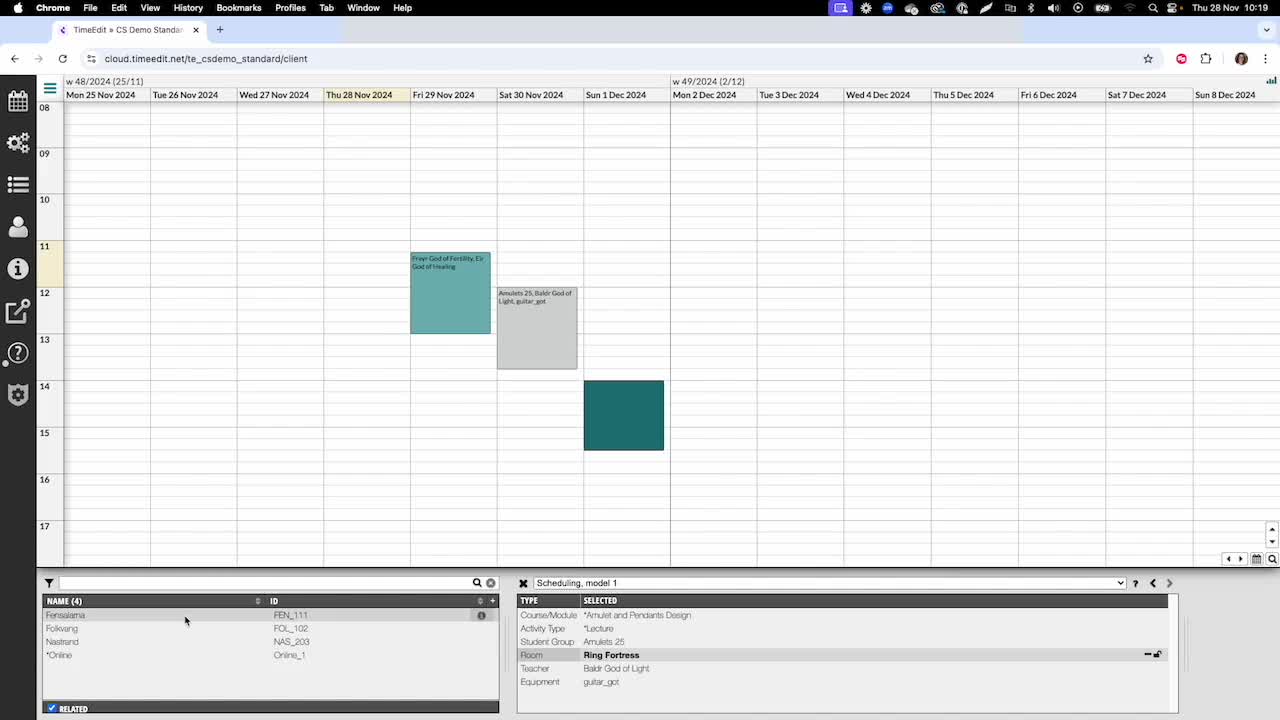
Step 1: Access the Reservation 0:02
- Click on the reservation you wish to change.
- Right-click to open a drop-down menu.
Step 2: Select Change Object Option 0:20

- From the drop-down menu, select the 'Change Object' option.
- Notice that your reservation is highlighted in the calendar view.
Step 3: Make Changes to the Reservation 0:32

- Go to the selection list to make changes to your reservation.
- If you want to add another object, click on the object type and choose the desired object.
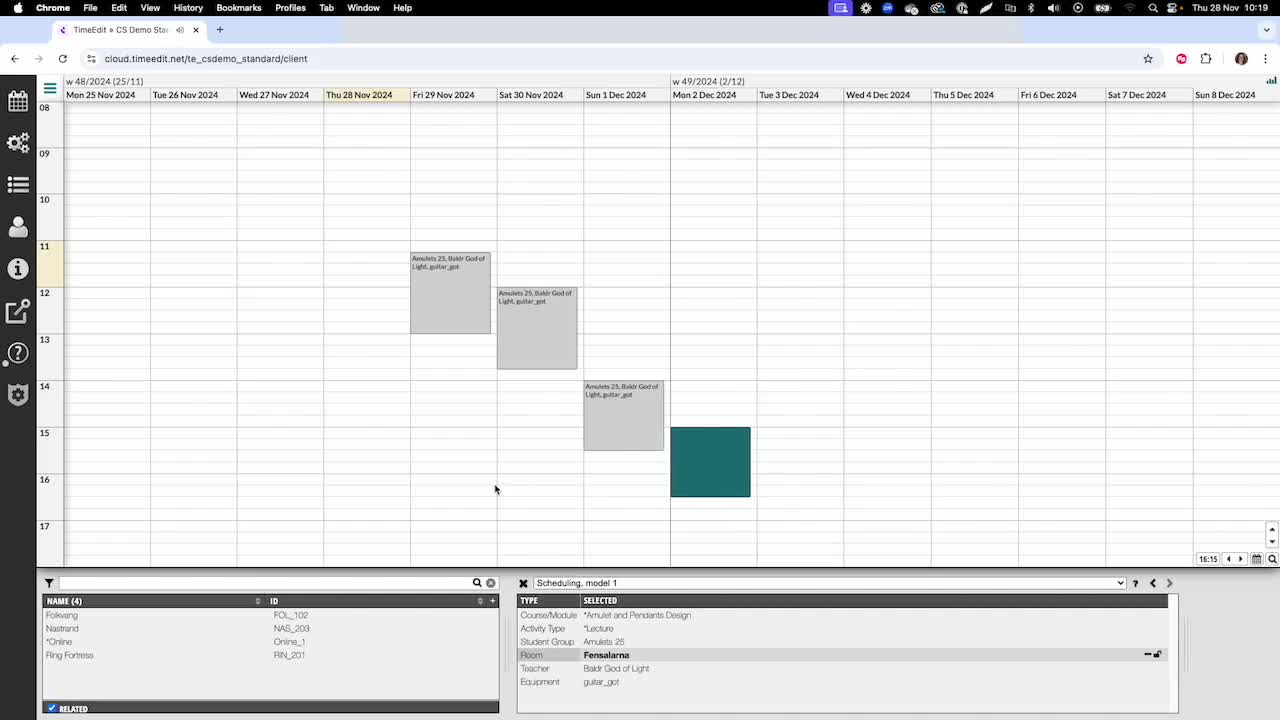
Step 4: Change an Existing Object 0:45

- To change an object (e.g., changing a room), ensure the object is highlighted in the selection list.
Step 5: Save Changes 0:55

- Once satisfied with the changes, hit 'Save'.
- Note: Simply clicking on the reservation and updating the selection list will not apply changes.
Step 6: Understand Selection List Functionality 1:10
- The selection list shows potential conflicts with your choice of objects in the reservations.
Step 7: Change Objects in a Cluster of Reservations 1:24
- To change objects in a cluster of reservations, go to your view.
- Select the cluster, right-click, and make changes as shown in previous steps.
Check out our other videos in the series:
- Moving on from CMIS
- Moving on from TechOne
- Moving on from Semestry
- Making a Reservation
- Changing objects on reservations
- Moving reservations
- Cancelling and restoring reservations
- Using the Reservation List
- Virtual objects in a Reservations
- Reservation Modes, Data and Conflict Control
- Understanding the colours in Core
- Creating Views in Core
- The Waiting List, Conflict List and Request List